- Wire
- Sheet
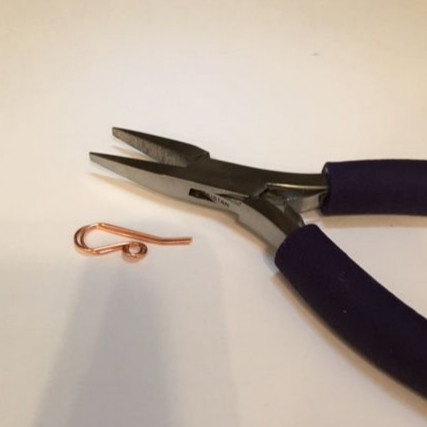
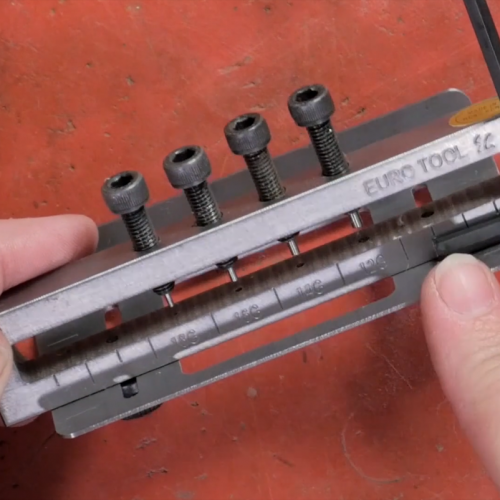
- Tools
- DVDs
- Streaming Video
-
Beads
- Handmade Venetian Glass Beads
-
Shop by Gemstone
- Agate - Blue Crazy Lace
- Agate - Blue Lace
- Agate - New Brazilian
- Agate - Pink Crazy Lace
- Agate - Purple Crazy Lace
- Agate - Rainforest
- Agate - Turritella
- Amethyst
- Amethyst - Dog Teeth
- Apatite - Blue
- Bronzite
- Carnelian
- Carnelian - Matte
- Cat's Eye
- Chrysocolla
- Dumortierite
- Dumortierite - Purple
- Goldstone - Blue
- Goldstone - Brown
- Goldstone - Green
- Hematite
- Jade
- Jade - New Burma
- Jade - West African
- Jade - Yellow
- Jasper - Apple
- Jasper - Black Silver Leaf
- Jasper - Dragons Blood
- Jasper - Green Brecciated
- Jasper - Imperial
- Jasper - Iron Zebra
- Jasper - Mexican Red Snowflake
- Jasper - Noreena
- Jasper - Picasso
- Jasper - Picture
- Jasper - Porcelain
- Jasper - Red Creek
- Jasper - Red Creek - Matte
- Jasper - Red Porcelain
- Jasper - Venus
- Jasper - White Lace Red
- Jasper - Wildhorse
- Labradorite
- Lapis
- Malachite
- Obsidian - Golden
- Obsidian - Snowflake
- Onyx
- Onyx - Matte
- Orange Sodalite
- Prehnite
- Pyrite
- Quartz - Blue Green
- Quartz - Cherry
- Quartz - Rose
- Quartz - Smoky
- Rhyolite
- Rhyolite - Bird's Eye
- Sardonyx
- Seraphinite
- Sodalite
- Tiger Eye
- Tiger Eye - Blue
- Tiger Eye - Red
- Turquoise - African
- Turquoise - Yellow
- Pearls
- Swarovski Crystal Beads

- Stones & Supplies
- On Sale Now


Lady Luck Ring
- Category: Classic
- Technique(s): Wrapping
- Skill Level: Advanced
I really enjoy looking at photographs of cast jewelry for inspiration, and I love working on new ring designs! Although I am not really sure "where" this idea came from, it was fun to create a ring by combining a bead with colored wire. By using a bead instead of a cabochon, you don't need to worry about how tightly a "prong" is made because the beads' holes secure the work for you!
Materials

21 Gauge Square Dead Soft Copper Wire
H11-21SQD
- Lesson Quantity: 46.00 inches
- Purchase Quantity: 1.00 5FT
- Price: $3.22
- Gold Club Price: $2.42

Dragon Blood Jasper 10x20mm Double Drilled Beads - 8 Inch Strand
A1-138
- Lesson Quantity: 1.00 pieces
- Purchase Quantity: 1.00 each
- Price: $20.07
- Gold Club Price: $15.05
Tools

6.5 Inch Long Flat Nose Pliers - Pack of 1
G2-74
- G2-74
- Lesson Quantity: 1.00 pieces
- Purchase Quantity: 1.00 each
- Price: $9.87
- Gold Club Price: $7.40

6-1/2 Inch Chain Nose Pliers
G2-70
- G2-70
- Lesson Quantity: 1.00 pieces
- Purchase Quantity: 1.00 each
- Price: $9.97
- Gold Club Price: $7.48

C.H.P Milano Italian Flush Cutter, 5 1/2 Inches
PLR-487.00
- PLR-487.00
- Lesson Quantity: 1.00 pieces
- Purchase Quantity: 1.00 each
- Price: $14.97
- Gold Club Price: $11.23

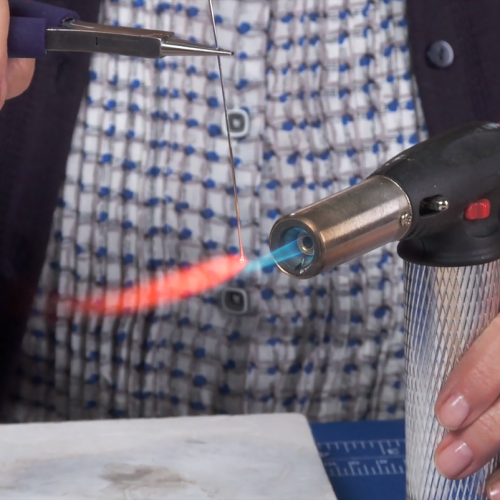
3.6 Volt Automatic Wire Twister (Cordless Screwdriver)
G5-15
- G5-15
- Lesson Quantity: 1.00 pieces
- Purchase Quantity: 1.00 each
- Price: $42.97
- Gold Club Price: $32.23

Stainless Steel Ring Mandrel Sizes 1-15
G7-2
- G7-2
- Lesson Quantity: 1.00 pieces
- Purchase Quantity: 1.00 each
- Price: $37.97
- Gold Club Price: $28.48

Medium Rawhide Hammer 1 1/4 inch - Pack of 1
G3-7
- G3-7
- Lesson Quantity: 1.00 pieces
- Purchase Quantity: 1.00 each
- Price: $24.97
- Gold Club Price: $18.73

12 Inch Stainless Steel Ruler
G7-30
- G7-30
- Lesson Quantity: 1.00 pieces
- Purchase Quantity: 1.00 each
- Price: $2.97
- Gold Club Price: $2.23

Scotch 3/4 Inch Painters Tape for Taping Wires Together
G13-5
- G13-5
- Lesson Quantity: 1.00 pieces
- Purchase Quantity: 1.00 each
- Price: $5.97
- Gold Club Price: $4.48
Instructions
Step 1
Straighten, measure and cut all necessary wires. Individually twist 2 of the 7-inch pieces. With the twisted wires on the outside edges, bundle all four 7-inch wires together and tape near each end. Mark the center of the bundle at 3-1/2 inches and then measure and mark 1/2-inch on each side of the center.

Step 2
Working from each side-of-center mark, use a 3-inch wire to make a set of wraps from each mark toward its respective taped end of the bundle. Trim and tuck each wire end on the back of the bundle (where the marks are).


Step 3
Between the wraps, use your fingers to pull the wires apart, 2 toward each side, until the hole formed is large enough to accommodate the bead.


Step 4
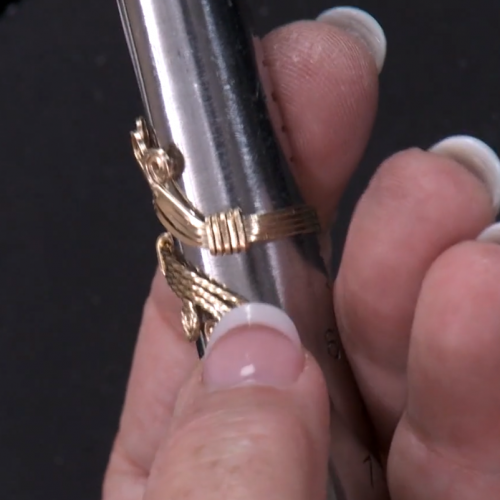
Remove all tape and on each side of the ring bundle, fan the wire ends out. Place the back of the fanned ring bundle against the ring mandrel, two sizes larger than the desired finished size. Wrap the fanned wire ends around the mandrel so they cross between one another. Grab the wire ends and pull them tightly, causing them to flatten against the mandrel; tape them into place on each end of the bundle.


Step 5
Make an off-set bend in the center of the 6-inch wire. Place this bend over the center of the criss-crossed wires and wrap first to one side and then to the other, creating a set of 5 total wraps. Trim and tuck the wrap wires ends to the inside of the ring.


Step 6
Using the remaining two, 3-inch wires, slide one through the top hole in the bead and the other through the bottom hole. Bend each wire toward its respective end of the bead, as shown.

Step 7
Place the bead in the center of the ring's opening and wrap each of the four wires around the frame. Trim each wire end and tuck on the inside of the rings' frame.


Step 8
Remove all remaining tape. On each side, separate the four wires into pairs of two.

Step 9
Bend each pair of wires toward the frame closest to them, and wrap each pair around the frame once. Trim and tuck the wire ends on the inside of the frame as shown. Slide the ring back onto the mandrel and use a mallet to gently reshape the ring.


Supply Detail
loading...
Change Metal:
This Pattern requires:
Purchase quantity:
Price: $
Gold Club Price: $
Purchase quantity:
Price: $
Gold Club Price: $
Other Patterns by Brenda Sigafoos
 Quick Stone Ring
 Cougar Sensation Pendant
 Copper Knot Ring
 Beautiful Snowflake Ornament
![]()
The premier place for all your jewelry making needs. The best in wire, tools, cabochons, gemstone beads and more. As well as a superior resource for educational support to help build your jewelry making skills and techniques.
Connect With Us


® 2007 - 2025 JewelryMaking.com Powered by ClaimTheWeb Cart

4.7
JewelryMaking.com
45619 Reviews
