- Wire
- Sheet
- Tools
- DVDs
- Streaming Video
-
Beads
- Handmade Venetian Glass Beads
-
Shop by Gemstone
- Agate - Blue Crazy Lace
- Agate - Blue Lace
- Agate - New Brazilian
- Agate - Pink Crazy Lace
- Agate - Purple Crazy Lace
- Agate - Rainforest
- Agate - Turritella
- Amethyst
- Amethyst - Dog Teeth
- Apatite - Blue
- Bronzite
- Carnelian
- Carnelian - Matte
- Cat's Eye
- Chrysocolla
- Dumortierite
- Dumortierite - Purple
- Goldstone - Blue
- Goldstone - Brown
- Goldstone - Green
- Hematite
- Jade
- Jade - New Burma
- Jade - West African
- Jade - Yellow
- Jasper - Apple
- Jasper - Black Silver Leaf
- Jasper - Dragons Blood
- Jasper - Green Brecciated
- Jasper - Imperial
- Jasper - Iron Zebra
- Jasper - Mexican Red Snowflake
- Jasper - Noreena
- Jasper - Picasso
- Jasper - Picture
- Jasper - Porcelain
- Jasper - Red Creek
- Jasper - Red Creek - Matte
- Jasper - Red Porcelain
- Jasper - Venus
- Jasper - White Lace Red
- Jasper - Wildhorse
- Labradorite
- Lapis
- Malachite
- Obsidian - Golden
- Obsidian - Snowflake
- Onyx
- Onyx - Matte
- Orange Sodalite
- Prehnite
- Pyrite
- Quartz - Blue Green
- Quartz - Cherry
- Quartz - Rose
- Quartz - Smoky
- Rhyolite
- Rhyolite - Bird's Eye
- Sardonyx
- Seraphinite
- Sodalite
- Tiger Eye
- Tiger Eye - Blue
- Tiger Eye - Red
- Turquoise - African
- Turquoise - Yellow
- Pearls
- Swarovski Crystal Beads

- Stones & Supplies
- On Sale Now


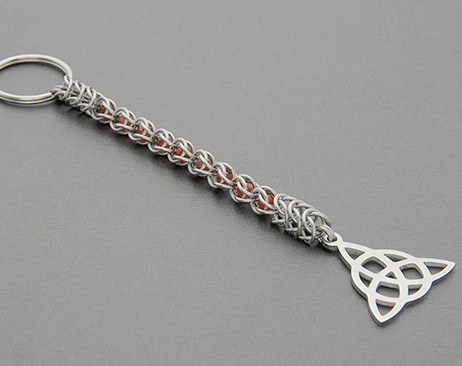

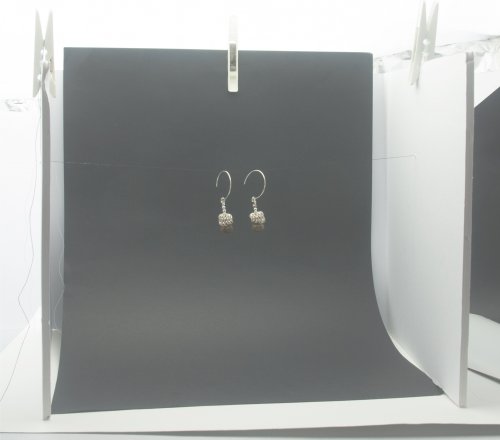


Traveling Twist Bracelet
- Category: Contemporary
- Technique(s): Making Findings, Making Loops, Wrapping
- Skill Level: Beginner
Materials

20 Gauge Round Half Hard .925 Sterling Silver Wire
H8-20H
- Lesson Quantity: 13.00 inches
- Purchase Quantity: 1.00 5FT
- Price: $14.63
- Gold Club Price: $10.97

24 Gauge Round Dead Soft .925 Sterling Silver Wire
H8-24D
- Lesson Quantity: 3.00 feet
- Purchase Quantity: 1.00 5FT
- Price: $5.38
- Gold Club Price: $4.03

Blue Crazy Lace Agate 8mm Round Beads - 8 Inch Strand
A1-611
- Lesson Quantity: 12.00 pieces
- Purchase Quantity: 1.00 each
- Price: $6.67
- Gold Club Price: $5.00

Sterling Silver Fancy End Cap 4mm - Pack of 2
K3-82
- Lesson Quantity: 2.00 pieces
- Purchase Quantity: 1.00 pieces
- Price: $12.32
- Gold Club Price: $9.24

Sterling Silver Beads Corrugated 4mm - Pack of 10
K9-151
- Lesson Quantity: 11.00 pieces
- Purchase Quantity: 2.00 pieces
- Price: $3.42
- Gold Club Price: $2.57
Tools

C.H.P Milano Italian Flush Cutter, 5 1/2 Inches
PLR-487.00
- PLR-487.00
- Lesson Quantity: 1.00 pieces
- Purchase Quantity: 1.00 each
- Price: $14.97
- Gold Club Price: $11.23

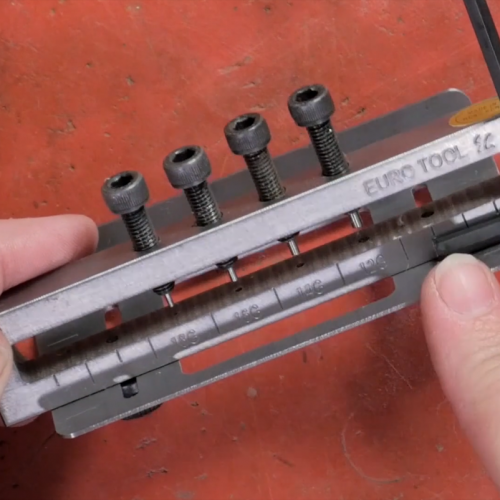
6 Step Barrel Plier - Pack of 1
G2-503
- G2-503
- Lesson Quantity: 1.00 pieces
- Purchase Quantity: 1.00 each
- Price: $22.97
- Gold Club Price: $17.23

Chain Nose Wire Plier
G2-508
- G2-508
- Lesson Quantity: 1.00 pieces
- Purchase Quantity: 1.00 each
- Price: $32.95
- Gold Club Price: $24.71

Flat Nose Wire Plier
G2-506
- G2-506
- Lesson Quantity: 1.00 pieces
- Purchase Quantity: 1.00 each
- Price: $32.95
- Gold Club Price: $24.71

Wire Rounder Set, 3 pieces
G14-20
- G14-20
- Lesson Quantity: 1.00 pieces
- Purchase Quantity: 1.00 each
- Price: $12.97
- Gold Club Price: $9.73

Scotch 3/4 Inch Painters Tape for Taping Wires Together
G13-5
- G13-5
- Lesson Quantity: 1.00 pieces
- Purchase Quantity: 1.00 each
- Price: $5.97
- Gold Club Price: $4.48
Instructions
Step 1
On the largest barrel of the 6-step plier, make a wrapped loop. Place the wire on a ruler and measure your length, make a mark. Measure 5 more inches and cut your wire.

Step 2
String the 8mm and 4-6mm beads on the wire, alternating between the 2, beginning and ending with the larger bead. Stop at the mark you made and tape the end of the wire to keep the beads on. This will be too many beads, but better to have too many than too few at this point. Your beads should slide on the wire, but not off the end. (If you are using bead cap or cone make sure you have one on the base wire before adding your beads)

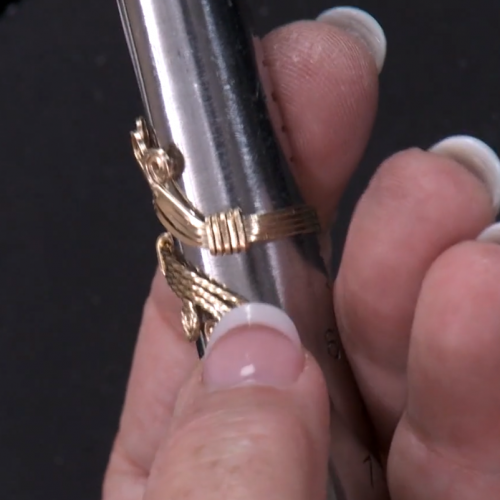
Step 3
Take the 24g wire and wrap around the base wire near the loop you made 3 times beginning and ending at the back of the base wire. Leave a tail of 1-2" to give you some leverage as you wrap the beads. I work off the coil for this part to avoid a lot of waste, but generally use about 3 feet for an 8" bracelet.

Step 4
Wrap the 24g wire along the edge of the first bead crossing in front of the base wire. Wrap around the base wire one full turn, ending in front.
Step 5
Now do the opposite; wrap the 24g wire along the edge of the smaller bead crossing the base wire in back one full turn, ending in the back.

Step 6
Repeat these steps until you reach the mark you made, ending with the larger bead, wrapping the smaller wire three times at the top of this bead. Now we're ready to travel back down the bracelet. Repeat the steps above, wrapping the smaller wire on the opposite sides of the beads until you reach the loop again. Make three wraps and cut both wires. Using your chain nose pliers, really tighten this smaller wire down tight.
Step 7
Remove the tape and additional beads from the end of your wire and tweak the weave to lie straight along the outer edges of the larger beads. Do a basic fitting to make sure you're still on target for the size. If you are using a bead cap or cone, put this on the base wire before making your clasp.

Step 8
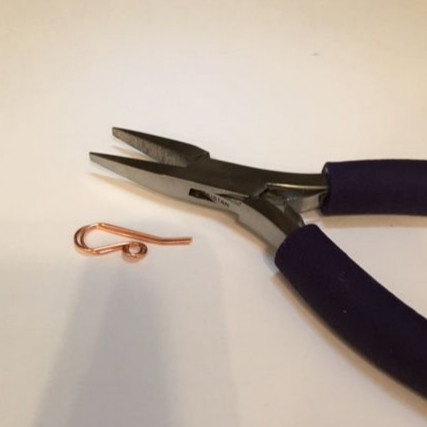
Now, to make the clasp! Measure 1 1/2" from your last bead and make an eye in the wire, pinching the sides together. Make a 45 degree angle at the base. Take your flat nose pliers and firmly hold the wires together so that you can wrap around the base.

Step 9
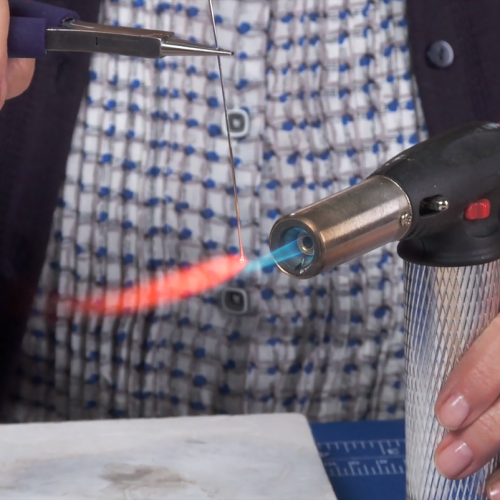
Create your hook by bending around the second-smallest barrel on the 6-step pliers and slightly bend out the end of the hook. Bend into bracelet shape either using your hands or a mandrel. Check for any wires that may need to be rounded or filed to prevent "pokies" or snags, file or pinch them down flat.

Step 10
Keep the weave going. With the base wires angled in, weaving will get much harder. You will need to keep holding onto the 24g wire to keep it from slipping down. You will also need to keep pushing the weave back together again. Be patient - it will look great!
Step 11
Congratulations! You've made your first Traveling Twist Bracelet

Supply Detail
loading...
Change Metal:
This Pattern requires:
Purchase quantity:
Price: $
Gold Club Price: $
Purchase quantity:
Price: $
Gold Club Price: $
Other Patterns by Layna Palmer
 Silver Linings Ring
 First Valentine Together Necklace
 Bubble Gum Rings
![]()
The premier place for all your jewelry making needs. The best in wire, tools, cabochons, gemstone beads and more. As well as a superior resource for educational support to help build your jewelry making skills and techniques.
Connect With Us


® 2007 - 2025 JewelryMaking.com Powered by ClaimTheWeb Cart

4.7
JewelryMaking.com
45619 Reviews
