
Woven Wire Hoops
- Category: Weaving
- Technique(s): Lashing, Making Loops, Making Spirals, Oxidizing / Antiquing, Wrapping, Weaving
- Skill Level: Advanced
I like to work with copper. This is a great metal. It can change its properties. Sometimes I can make it soft, sometimes it's hard. And I'm absolutely in love with this light pink color. It combines well with green and blue-colored stones.
Materials

16 Gauge Round Half Hard Copper Wire
H11-16H
- Lesson Quantity: 12.00 inches
- Purchase Quantity: 1.00 1FT
- Price: $1.05
- Gold Club Price: $0.79

18 Gauge Round Half Hard Copper Wire
H11-18H
- Lesson Quantity: 2.00 feet
- Purchase Quantity: 1.00 5FT
- Price: $2.72
- Gold Club Price: $2.04

20 Gauge Round Half Hard Copper Wire
H11-20H
- Lesson Quantity: 6.00 inches
- Purchase Quantity: 1.00 1FT
- Price: $0.41
- Gold Club Price: $0.31

26 Gauge Round Dead Soft Copper Wire
H11-26D
- Lesson Quantity: 5.00 feet
- Purchase Quantity: 1.00 5FT
- Price: $0.64
- Gold Club Price: $0.48

Round, smooth copper beads 3mm
- Lesson Quantity: 2.00 pieces
- Purchase Quantity: 2.00 each

2mm Round Metal Beads Copper
- Lesson Quantity: 2.00 pieces
- Purchase Quantity: 2.00 each

8mm x 12mm briolette
- Lesson Quantity: 2.00 pieces
- Purchase Quantity: 2.00 each
Tools

Chain Nose Wire Plier
G2-508
- G2-508
- Lesson Quantity: 1.00 pieces
- Purchase Quantity: 1.00 each
- Price: $32.95
- Gold Club Price: $24.71

Round Nose Wire Plier
G2-507
- G2-507
- Lesson Quantity: 1.00 pieces
- Purchase Quantity: 1.00 each
- Price: $32.95
- Gold Club Price: $24.71

C.H.P Milano Italian Flush Cutter, 5 1/2 Inches
PLR-487.00
- PLR-487.00
- Lesson Quantity: 1.00 pieces
- Purchase Quantity: 1.00 each
- Price: $14.97
- Gold Club Price: $11.23

8 Inch Brass Hammer with Wooden Handle
G3-23
- G3-23
- Lesson Quantity: 1.00 pieces
- Purchase Quantity: 1.00 each
- Price: $5.97
- Gold Club Price: $4.48

Mini Economy Double Horned Jewelers Anvil - Pack of 1
G17-1
- G17-1
- Lesson Quantity: 1.00 pieces
- Purchase Quantity: 1.00 each
- Price: $21.97
- Gold Club Price: $16.48

10 Piece Diamond Needle Files - 140mm X 3mm
G14-8
- G14-8
- Lesson Quantity: 1.00 pieces
- Purchase Quantity: 1.00 each
- Price: $13.57
- Gold Club Price: $10.18

Liver of Sulfur 4 oz
SOL-600.04
- SOL-600.04
- Lesson Quantity: 1.00 pieces
- Purchase Quantity: 1.00 each
- Price: $14.97
- Gold Club Price: $11.23
Instructions
Step 1
With 6" of 16g wire, make 1 1/2 loops around any cylinder (the diameter about 35 mm).


Step 2
Make a loop on the one end of circle. Trim off the extra wire on the other side opposite the loop.


Step 3
Flatten the wire on the anvil. Work only on the back side. And hold the hammer parallel to the horn anvil. Align the loop by bending it up 90 degrees.


Step 4
Make a second loop on the other side of the hoop, and smooth the end.


Step 5
Take 12" of 18g wire and bend the center around the mandrel. Do not trim any ends. Place it inside a flattened hoop. Take 30" of 26g wire, find the middle and start the weaving.


Step 6
Weave ten sections of the weave pattern.

Step 7
Bend one end of the inner wire into a swirl pattern. You can copy mine or make your own. Make sure your bead fits inside one swirl. Complete the pattern and trim excess wire.


Step 8
Gently bend the swirls out of the hoop so you can flatten the wire on the anvil. I flatten just some of it. Smooth the end. I like working with round wire because I can change it to flat at any time, and leave some sections round. This process reminds me of calligraphy.


Step 9
Continue the weaving. Then, with the other end of the inner wire, make the second layer of swirls, following my pattern, or making your own.


Step 10
Using the weaving wire, anchor some of the loops and string on the beads.


Step 11
Attach the briolette. I make 2 coils near the briolette and around it. And then coil and weave to anchor all elements of the pattern. Finish by wrapping the frame and trimming the wire. Pinch with pliers to secure.


Step 12
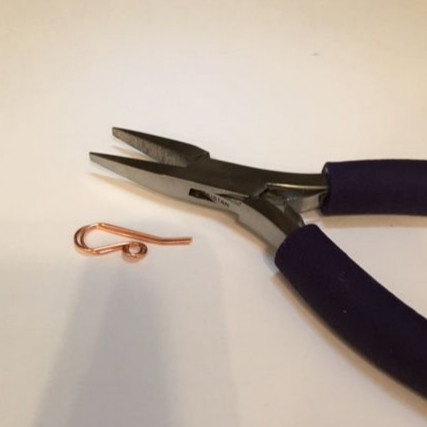
Take 3" of 20g wire. Flatten and smooth the end. Pull the wire with two pairs of pliers. Pulling wire work hardens it and this needs to be strong for the ear wires.


Step 13
Make the ear wire and connect it to the earring. Smooth the end. Bend up the end and adjust the frame so the ear wire springs into the opposite loop. Almost done!


Step 14
I like the vintage look of jewelry. Dip the earrings into a warm solution of liver of sulfur and wait a few minutes. Then use polishing pads, or polishing cream to wipe away some of the oxidization from the high points.


Step 15
Wash them carefully. And I recommend to cover copper with a special varnish, or, alternatively, Renaissance Wax. This will keep the shine of metal for a long time.


Step 16
Repeat Steps 1 - 15 for the second earring.






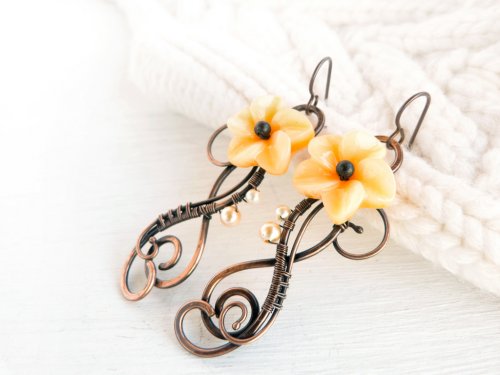 Bloom Wire Earrings
 Heart Pendant
 Elegant Pendant
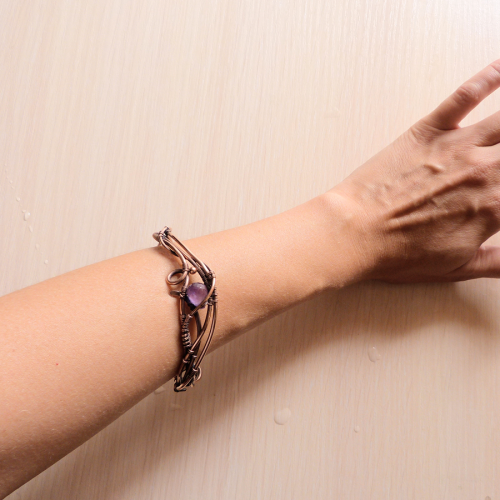 Woven Amethyst Focal Bracelet
  Butterfly Wing Copper Pendant
 Wire Bird Pendant with Cabochon


